
KILLJOY
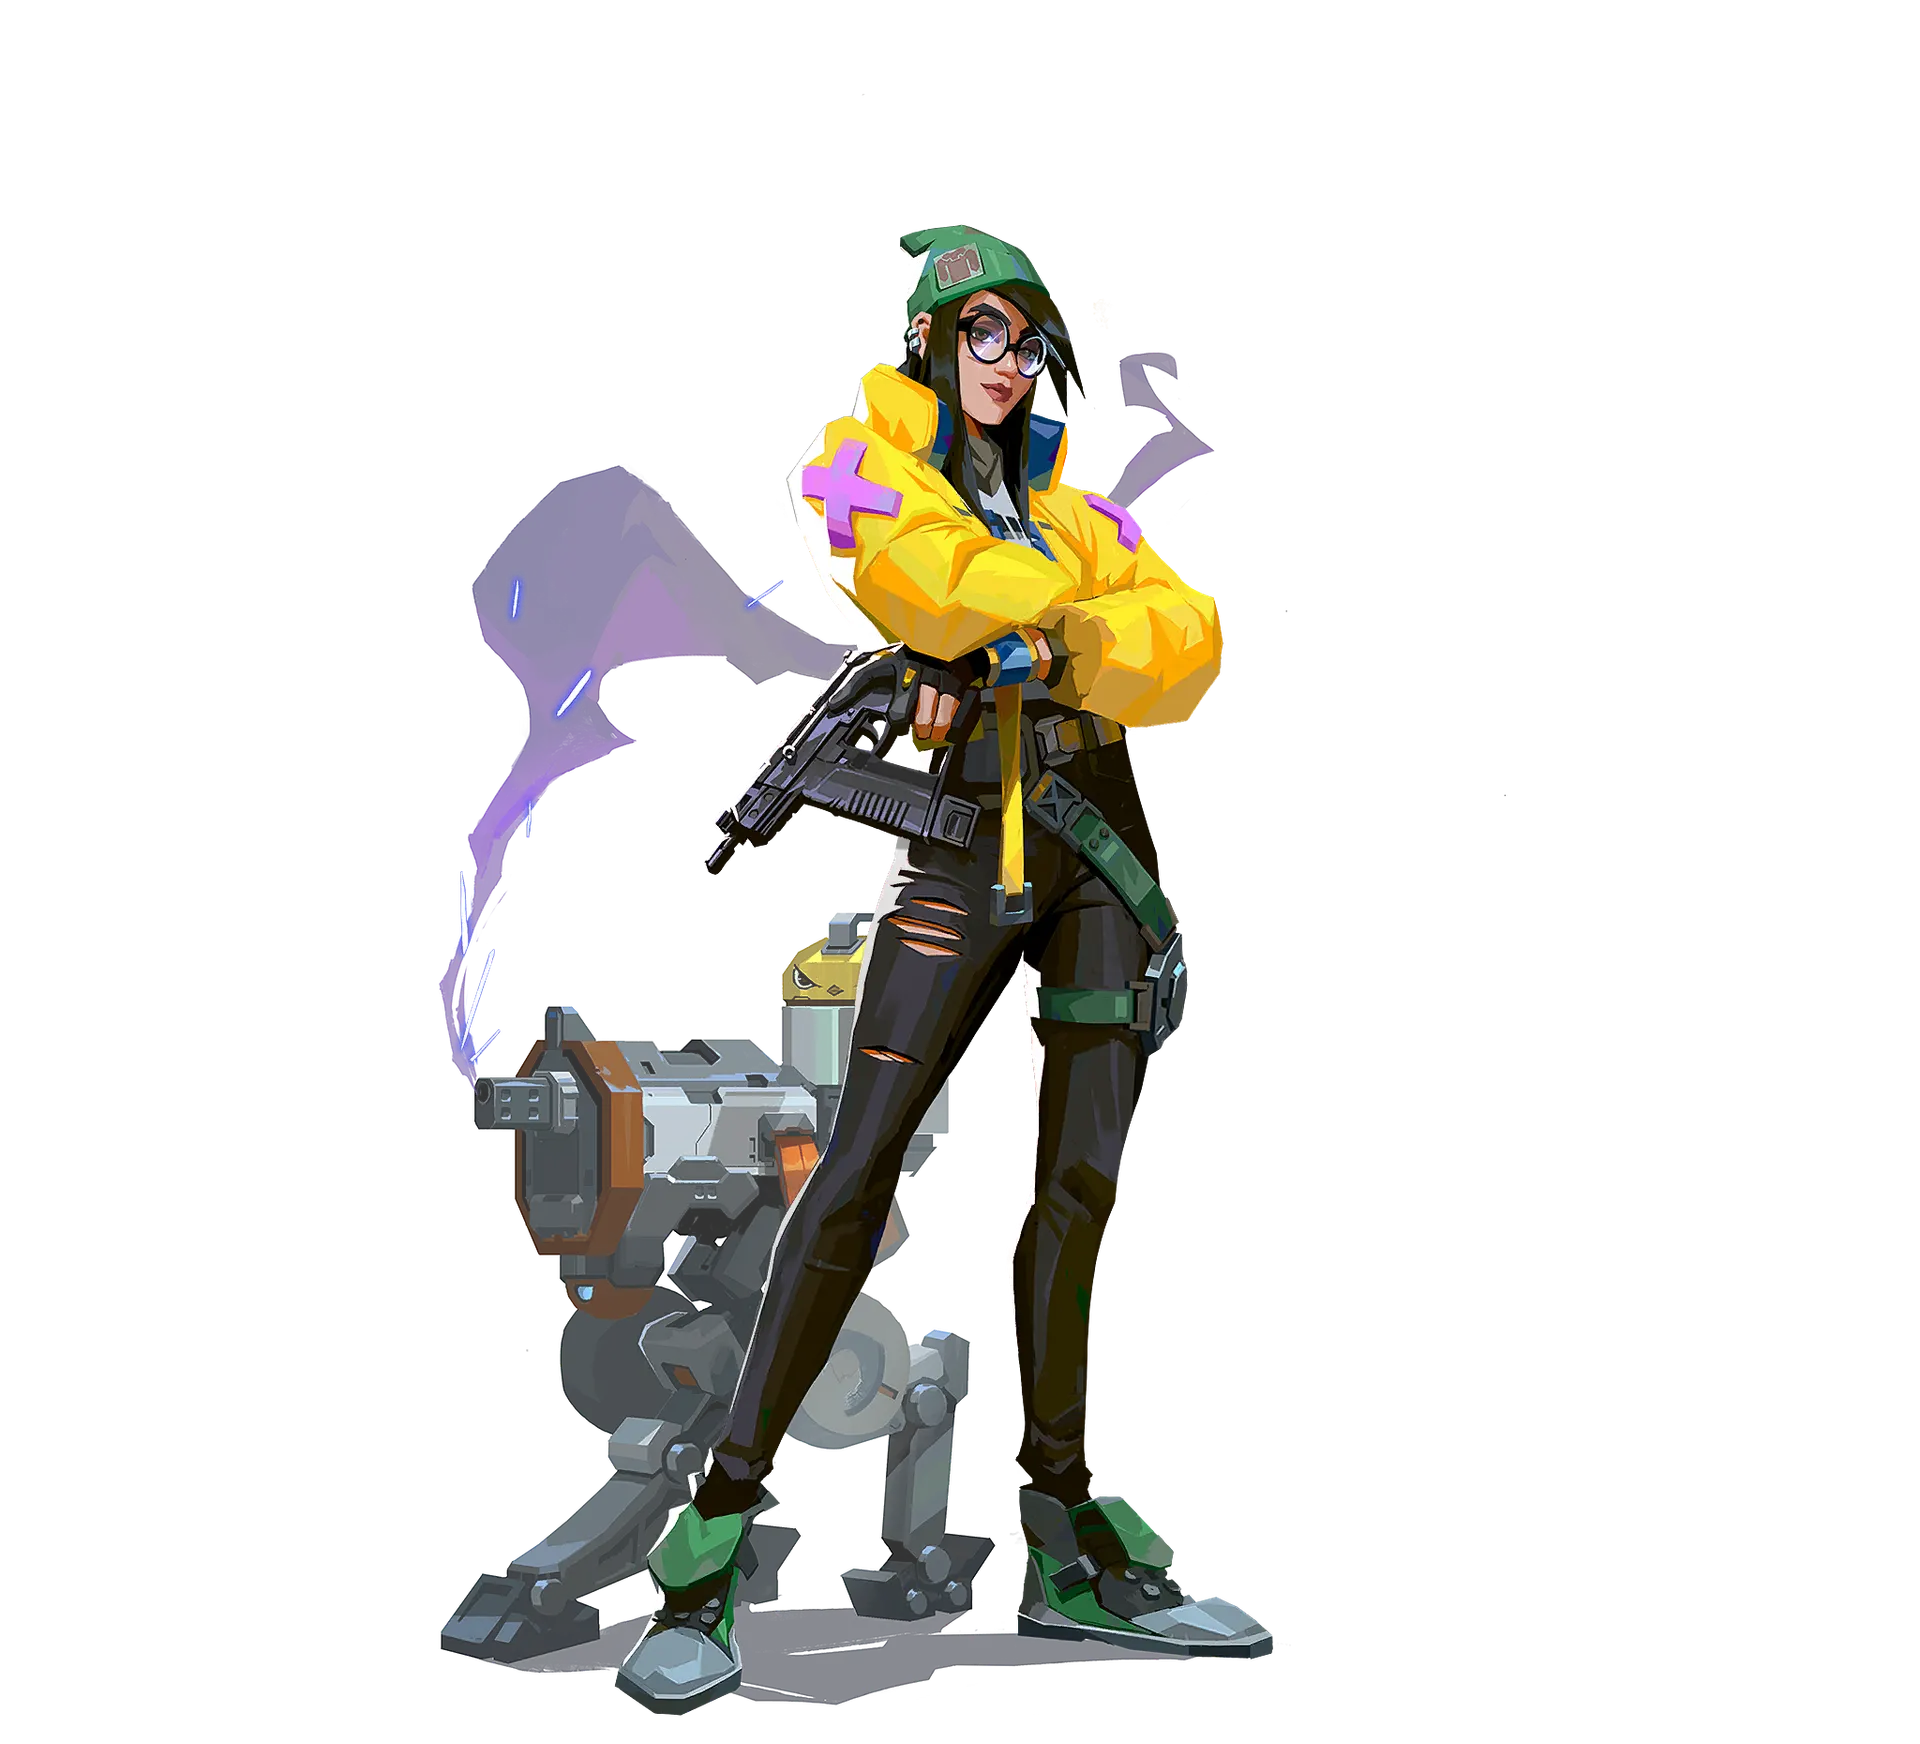
Killjoy brings a German engineer's knack for invention to the battlefield, holding key positions with an arsenal of gadgets that feels effortless. When the damage from her devices doesn't finish off an enemy, the debuff her robots apply typically makes short work of them.
Killjoy holds a site better than nearly any sentinel, and her setup can defend it entirely alone, freeing four teammates to act elsewhere. Turret deals passive damage and alerts her team to enemy movement, drawing fire before attackers reach a corner. Alarmbot is a proximity trap that debuffs and halves the armor of any enemy it catches, opening the door to heavy follow-up damage. Nanoswarm grenades are the harshest post-plant tools in the game: placed during setup, they detonate remotely when enemies try to defuse, dealing massive damage in a tight radius that is nearly impossible to escape. Lockdown, her ultimate, deploys a device that detains all enemies in a wide radius after a wind-up, forcing attackers to destroy it or give up the site. Killjoy demands precise placement and cooldown discipline, but few agents hold a site as completely.← ALL AGENTS
TACTICAL KIT
ABILITIES AND SKILLS

Equip the Nanoswarm grenade and fire to throw it. Once it lands it turns covert. Alt fire lobs it instead. Activate it to release a damaging swarm of nanobots.

Equip a covert Alarmbot, then fire to send out a bot that tracks down enemies entering its range. Once it reaches its target it explodes and applies Vulnerable to enemies nearby. Hold Equip to recall a deployed bot.

Equip the Turret and fire to set it down; it shoots enemies within a 100-degree cone. While it is targeting, press Equip again to switch its facing direction, or hold Alt Fire to rotate it. Hold Equip to pick up the deployed turret.

Equip the Lockdown device and fire to deploy it. After a long windup, it Detains every enemy inside its radius. Enemies can destroy the device.